EYE POPPING HOT COLORS AND METALLIC TONES
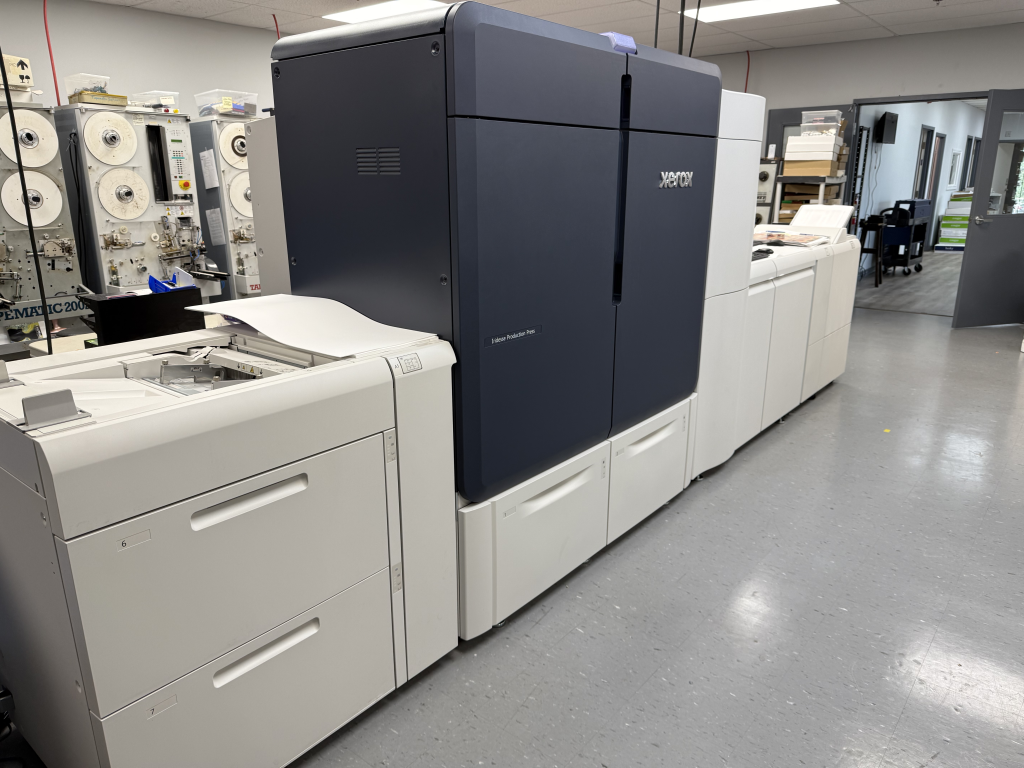
The big project at the Duplication.com printing facility this past week has been setting up our brand new digital Xerox Iridesse Production Press. The results have been fantastic, with high quality digital print that are sure to impress merch buyers and designers alike. A new feature we’re now capable of is Wide Gamut Extension, which allows for vibrant hot colors not previously possible through CMYK print!
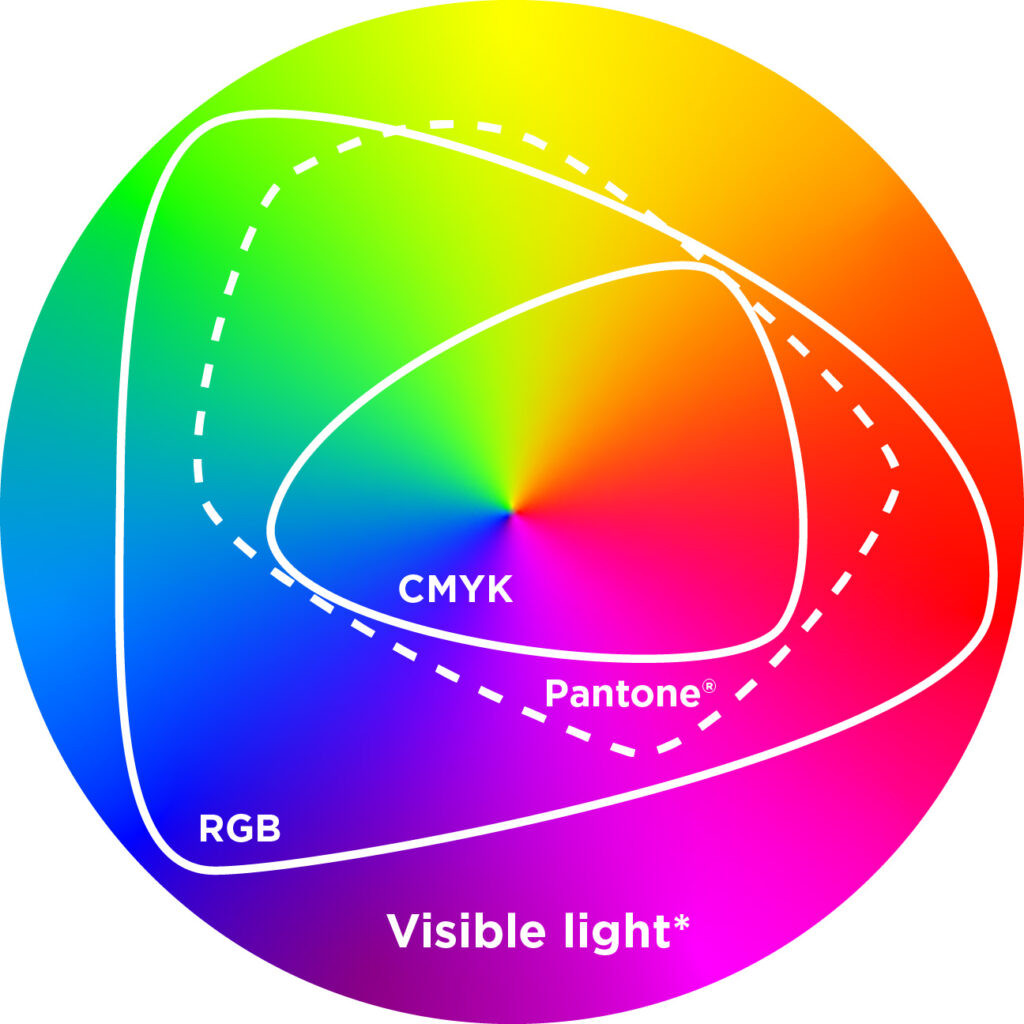
The limitations of CMYK have historically resulted in duller warm colors than you’d find in the RGB range. The Iridesse digital printer has a fifth ink, Fluorescent Pink, which allows for a wide range of colors not previously possible outside of Pantone spot swatches.

- Orange and coral no longer a brick-like color, but instead vibrant like autumn leaves.
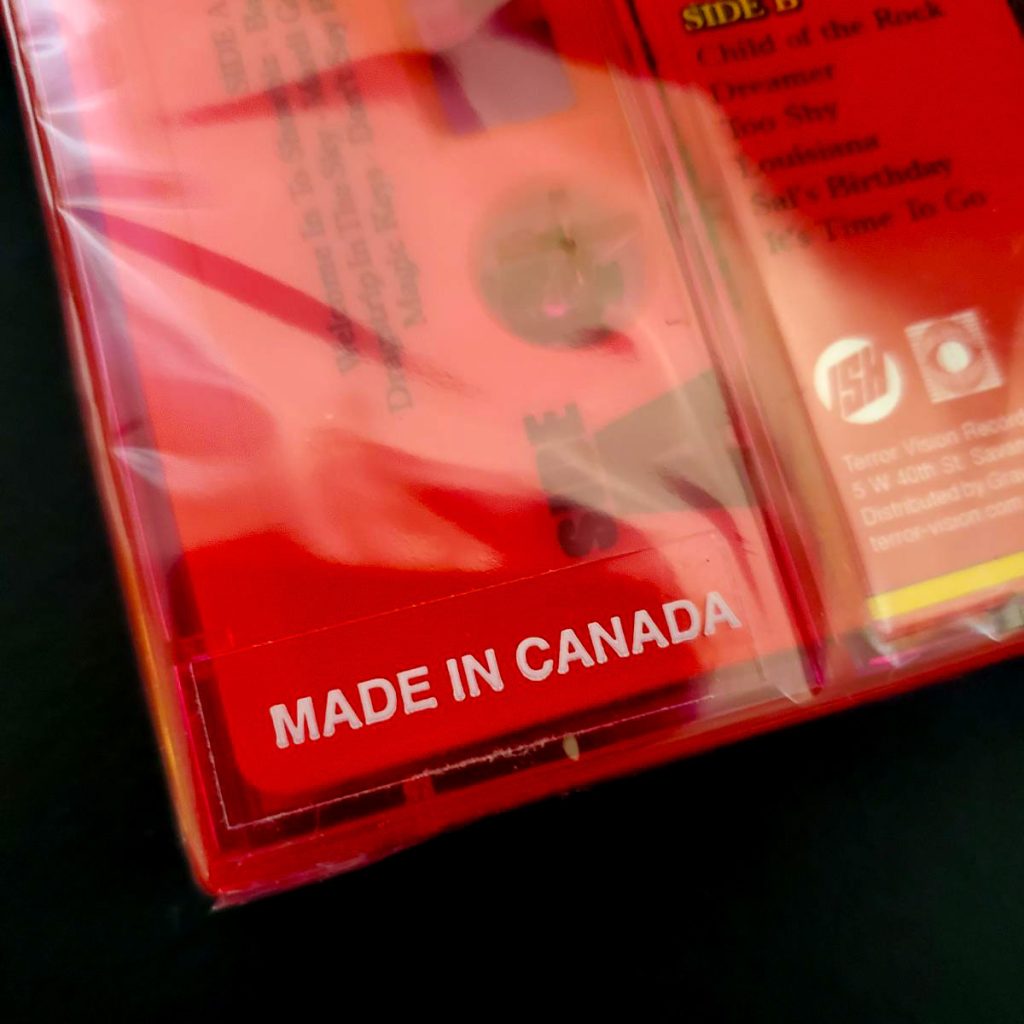
- Red has always been notoriously difficult to replicate, but now possible through the Wide Gamut Extension. Imagine a fire engine red, or a bright red tomato.
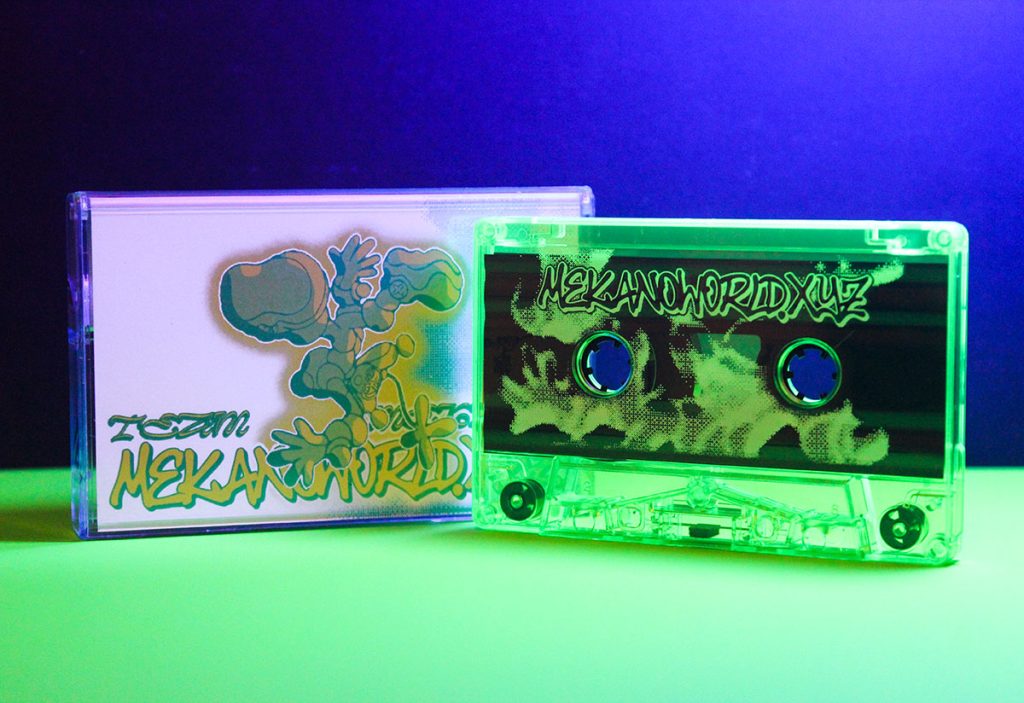
- The magenta in CMYK is limited in its brightness, but now pinks can appear hot and electric.
- As you can see in the chart below, so much of the purple color spectrum falls outside of CMYK’s capabilities. A tinge of fluorescent pink will give purple new life, now appearing more vibrant and brighter than ever before!
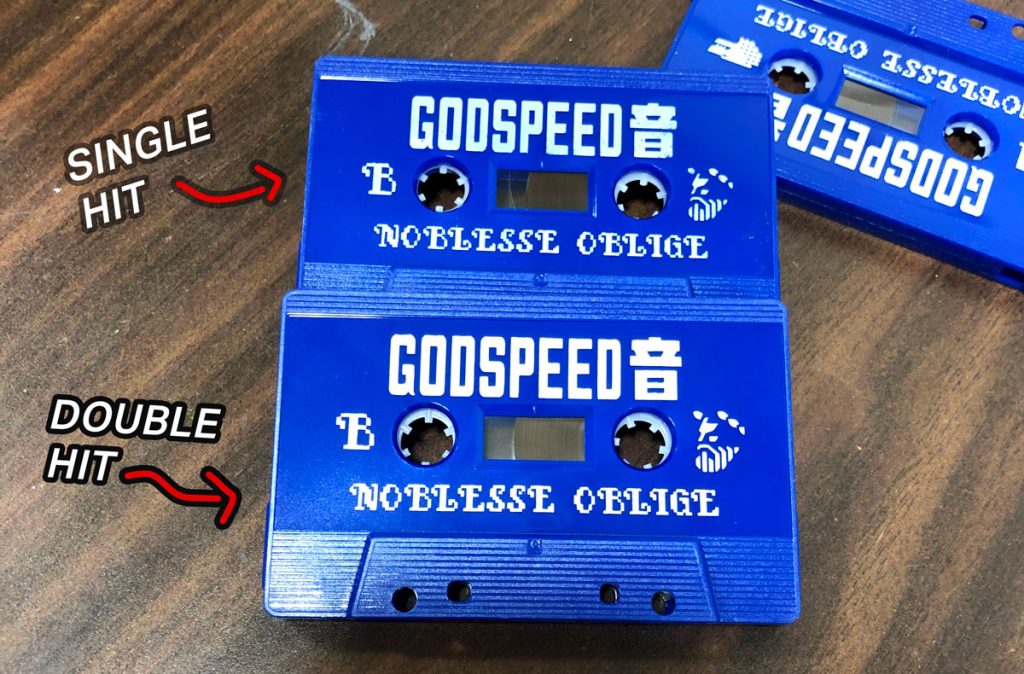
New color possibilities don’t just end with fluorescent pink. The Iridesse is also capable of gold and silver metallic, adding shimmer to certain areas of your artwork. High opacity white allows for a dense and bright white on dark background. If you want to add emphasis to text or certain objects in your design, request that we add high gloss and low gloss to your artwork!
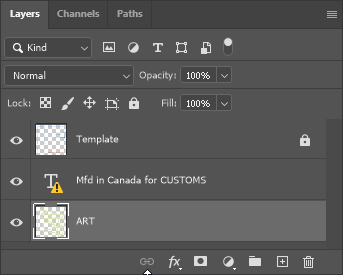
The process for Wide Gamut Extension is simple. First, it will need to be requested with your print or duplication order. You can supply us your print file in RGB, and we can handle the rest through our software. Alternatively, you can go the classic route and send us a CMYK file with Pantone spot colors. The spot colors must be visible in the “Channels” tab, and the file needs to be in “Multichannel” mode.

A $75 USD setup fee applies, and certain larger items (such as a 4-Panel Digipak) will have a $1 per unit cost for full gloss floods.