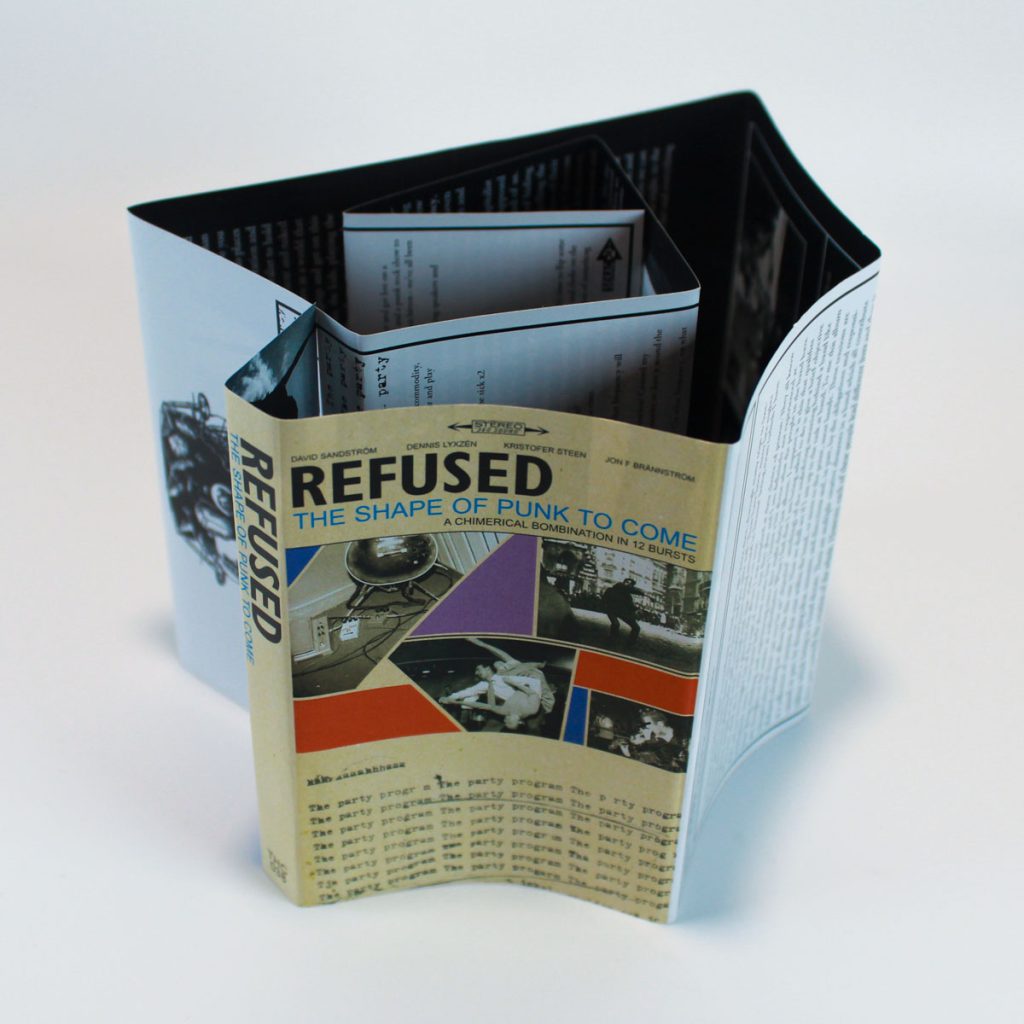
We’re always looking for ways to make your Duplication.com orders more efficient. After all, you filled out the cassette duplication quote form, or purchased printed goods from the online shop, now you just want the product in your hands! We’ve realized that back-and-forth emails about album artwork has a tendency to slow down order production, which is why we thought it would be a good idea to share some pointers on how to optimize your album artwork design and delivery!
“Where do I upload my files?”
The age old question. The answer is pretty simple though: after you submit a quote request or buy a product from the online store, you will see an upload link on the file confirmation page. If you missed that, you’ll also find it in the confirmation email. This link will send you to your private FTP folder where you can upload both your audio files and artwork files. It’s best to zip the audio files and artwork files as separate folders, with easy to understand file names.

The Art of Print-Ready
A print-ready file is exactly as it sounds: a digital file that’s formatted correctly and ready to print without the need of further adjustments. Here’s a short checklist:
✅ The file should be in CMYK color mode
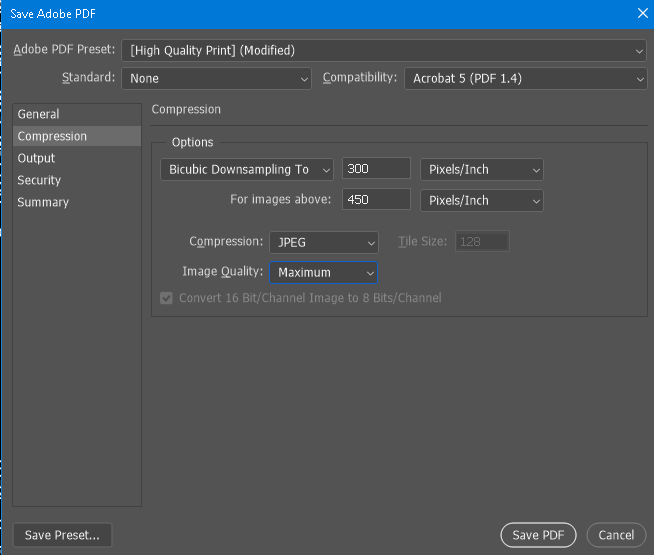
✅ 300dpi resolution
✅ Fonts are either embedded or converted to outlines
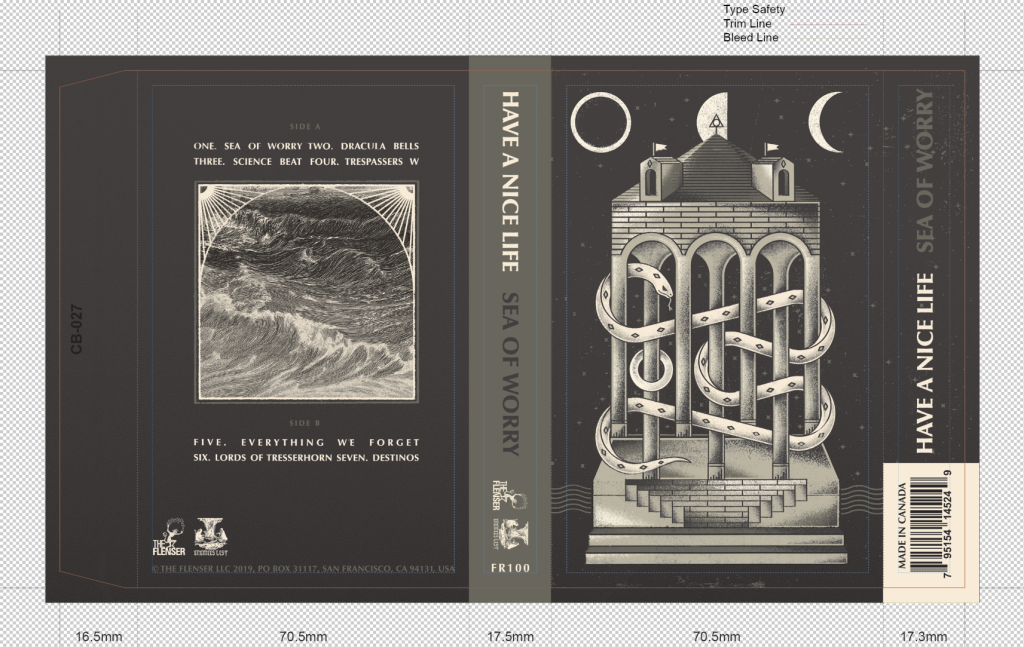
✅ Bleed has been added to ensure that there’s no white trim around the image
✅ Export to a PDF format (Photoshop users: export as Photoshop PDF)
✅ It’s helpful for us for you to label the file with the application you used (ex. jcard-front-photoshop.pdf)
✅ For templates such as J-cards, CD covers, etc., please provide us with two files: one with the template lines, and one without the template lines.

This may seem like a lot to a first-time designer, but we promise you that this is the industry standard for printers worldwide. If you follow this checklist, we most likely won’t need to hound you with questions, revisions, or the dreaded resubmission fee.

Country of Origin markings
If you open the newspaper you may be surprised to learn that shipping items across the border is an absolute freakshow right now. Fortunately we’ve got things settled and figured out on our end (check out our post about that for some very useful info!), but there’s something we need from your end: the ‘Made in Canada’ marking.
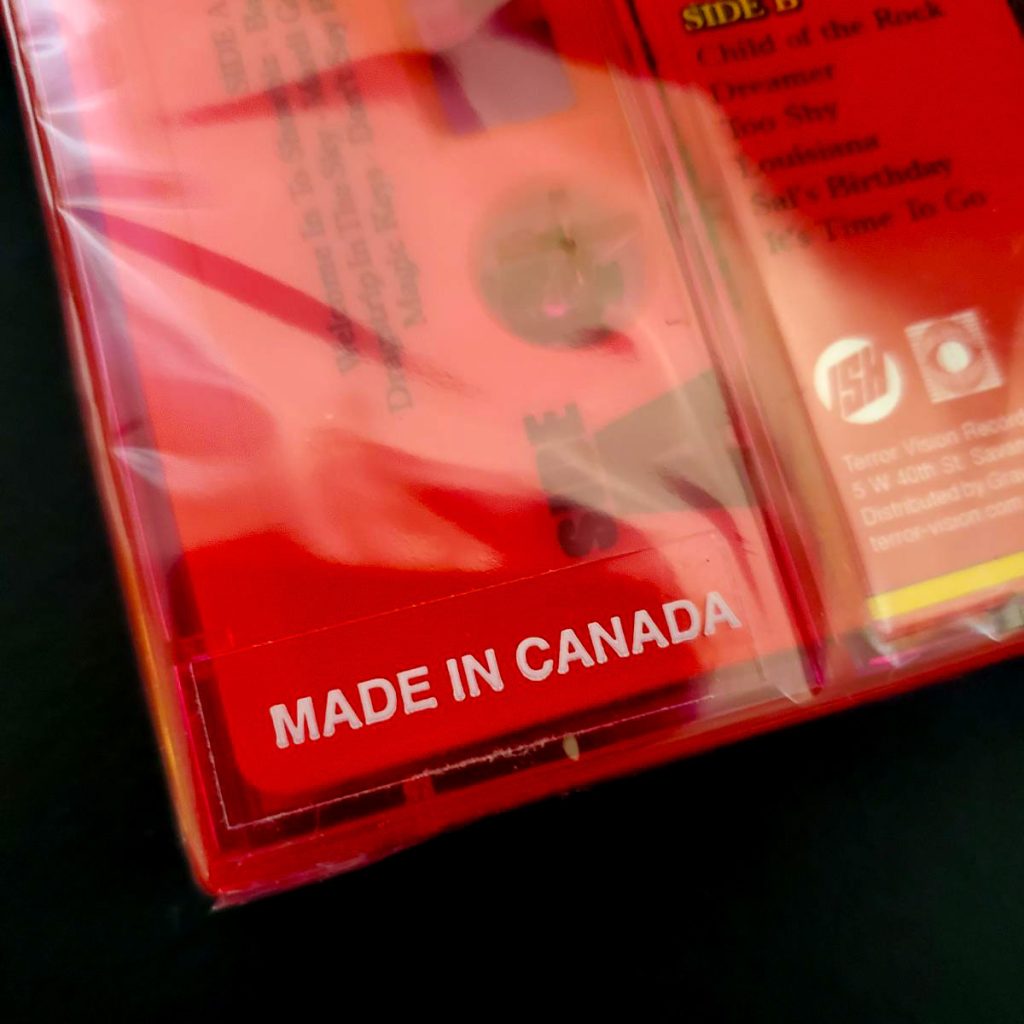
While we have an Ohio production facility, the majority of our print is still currently coming from our Toronto factory. This means it’s necessary to add ‘Made in Canada’ or ‘Manufactured in Canada’ to the outside of your package. It used to be that a batch of 100 cassettes could pass through the border uninspected, but given the tariff madness, those days are behind us. Don’t be a fool, don’t have your package sent back, just add the marking!
Now there’s a number of subtle ways to do this: you can always design your artwork to include “Made in Canada”. Use whatever font you want, and at whatever size, as long as it’s legible and visible in the exterior package. You shouldn’t have to squint or use a magnifying glass to see the text.
We also have stickers that can be placed on the package or the shrinkwrap. In fact, if you add shrinkwrap and Made in Canada (MIC) stickers, by default we’ll be placing the stickers on top of the shrinkwrap unless requested otherwise. Stickers are available in black or white print, and the option will be added to the cassette duplication form soon, just hold tight!
